How can the Lenovo ThinkPad Laptop be reset at Factory settings?
Posted on
If you are facing issues with your Lenovo ThinkPad, don’t worry. Sometimes the ThinkPad can behave in unexpected ways and stop working. It can get frustrating if you are working on something. There can also be an issue because of viruses or other malware.
If the gular rebooting and restoring process doesn’t work, you can try resetting the laptop to factory settings.
If you want to clear up all the data from your ThinkPad, you might need to do a complete factory reset. After doing the factory reset, all the data will be erased, and your laptop will go back to how it was in the very beginning.
Before doing a factory reset, you must always take a backup and store all your files in separate external storage. Doing that will ensure all your data remains safe. After you accept a backup, you can follow specific steps to complete the factory reset.
Steps to reset the Lenovo ThinkPad to factory settings
Start your laptop. If you are unable to access any settings, reboot your laptop to be able to use the settings.
Press the power button and turn on your laptop. There is an access ThinkPad key; click on it.
Wait for a few seconds. You will see a ThinkPad product recovery program menu.
Press the down arrow till you reach the recovery program option. Then, click enter.
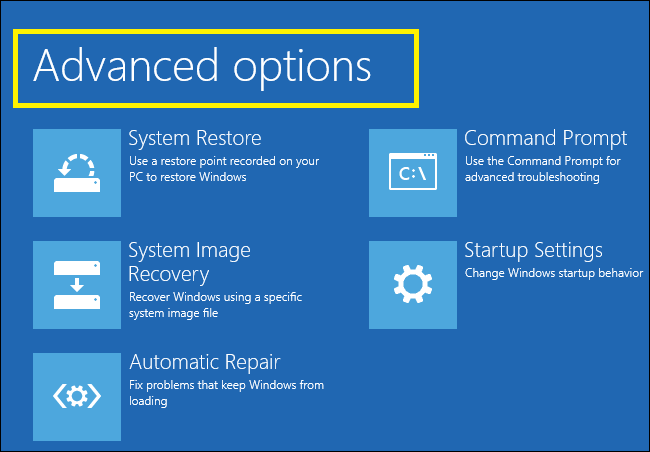
When the menu appears, click on F11. After that, you can select the restore factory defaults option.
Your laptop will be restored to default settings. Now, you can install the software you want.
You can restore your files on your laptop by copy-pasting from external drives.
Now, you should be able to use your laptop properly. If you are still facing problems, you can contact the Lenovo technical support UK website for additional help.