McAfee Virus Scan is a virus removal program that offers more than just protection. Once installed, it will work in the background and scan your computer at regular intervals for any viruses or malware trying to make its way onto your system.
However, like many other anti-virus programs on the market, sometimes McAfee can get stuck during an update. When this happens there are some steps you can take to try and resolve the problem yourself before considering contacting customer support.
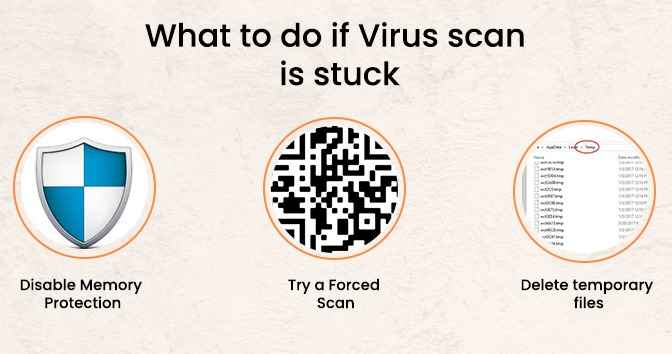
This involves editing Windows Registry keys and should not be done by those who don’t know what they’re doing as incorrect edits could cause irreversible damage to your system. To disable memory protection via Registry Editor.
Open Editor (Start –> Run –> regedit)
Navigate to the Registry Key: HKEY_LOCAL_MACHINE\SOFTWARE\McAfee.com\VSCore Change EnableMemProtect (DWORD) from 1 to 0
2) Try a Forced Scan:
In some cases, you may need to tell McAfee that you wish for it to re-scan certain files it believes are already clean. To do this…
Open My Computer or Windows Explorer and navigate your file system tree until reaching the location in which the virus definition resides. By default, these files should be in C:\ProgramData\Network Associates\TVD\Shared Components\Virus Definitions\. If not there, they will typically be in one of the following locations:
Right-click on the definition file you wish to scan and select one of the following options, depending on your version of McAfee…
For Network Associates Antivirus 8.x/9.0…Select “Force Update” from the context menu
For McAfee Virus Scan 10.x & 11.x…Select “Scan Now” from the context menu
3) Delete temporary files:
Some virus definitions are actually compressed inside temporary files which are only temporarily created when updating or scanning for viruses. These can often be overlooked when trying to fix an issue. To delete these files…
Close all instances of McAfee Virus Scan you have open Navigate to
C:\ProgramData\Network Associates\TVD Delete all subdirectories inside TVD Reboot your computer Re-open McAfee Virus Scan and try updating/scanning for viruses again.
4) Uninstall & Re-Install Network:
Associates Antivirus or McAfee Virus Scan: If the previous steps have failed, sometimes reinstalling the software will resolve any remaining issues with your product.
To uninstall
Open My Computer or Windows Explorer and navigate your file system tree until reaching the location in which the virus definition resides. By default, these files should be in C:\ProgramData\Network Associates\TVD\Shared Components\Virus Definitions\. If not there, they will typically be in one of the following locations:
Right-click on every file and folder inside TVD and delete them all Navigate to C:\ProgramData and delete the Network Associates or McAfee folder Reboot your computer Re-install across any other devices that require the software. Then install to only one device, without patching it first. Wait a few minutes before attempting to update/scan for viruses again.
5) Disable memory protection entirely:
If uninstalling and reinstalling does not resolve the issue, it’s possible that your computer is running low on memory. This could be because of conflicts with other software or because there are simply too many things running at once. As a last resort, you can try disabling memory protection entirely. To do so…
Open My Computer or Windows Explorer and navigate your file system tree until reaching the location in which the virus definition resides. By default, these files should be in C:\ProgramData\Network Associates\TVD\Shared Components\Virus Definitions\. If not there, they will typically be in one of the following locations:
Right-click on every file and folder inside TVD and delete them all Navigate to C:\ProgramData and delete the Network Associates or McAfee folder Reboot your computer Open Task Manager Click on the “Processes” tab, followed by clicking “Show processes from all users” Locate any McAfee process which is using a significant portion of memory.
To do this, sort each column by clicking its header so that the largest value in each column is at the top. Highlight any process whose name begins with an M (as in mcshield.exe) or V (as in vshost32.exe).
Right-click on the highlighted process and select “Set Affinity…” Uncheck any processor(s) (CPUs) that are not currently in use. Then check only the first CPU for mcafee scan stuck,
Click OK, followed by clicking “End Process” to end this McAfee process Repeat steps 4 & 5 for each of the following processes: mcagent.exe, mcmnhdlr.exe, mcmispps.exe and mcregwiz.exe Reboot your computer and try updating/scanning for viruses again
6) Re-Install Microsoft Windows:
If all of the previous steps have failed to resolve your issue…it’s possible that you’re somehow running low on memory or disk space as a result of other software that is installed on your computer or as a result of corruption in your Windows installation.
7) To run a memory test:
Press the Windows + R key combination to open the Run window Type mdsched.exe and press Enter A dialogue box should appear with a blinking cursor asking you to “Please Select Your Desired Memory Configuration”. Use the up & down arrow keys on your keyboard to select your preferred memory configuration (the default is 4GB) Once complete, click the Start button.
If no errors are reported, attempt a Repair Installation of Windows by booting from media you created earlier or by using the disc that came with your computer. Please see this article for detailed instructions:
http://windows.microsoft.com/en-us/windows-8/repair-install You may also wish to download the Windows System Assessment Tool in order to automatically detect if there are any hardware issues.
For more information, check out this article: http://windows.microsoft.com/en-US/windows-8/system-assessment-tool
Conclusion
Download SeaTools for Windows by Seagate Press the Windows + R key combination to open the Run window Type Drive Fitness Test and press Enter Follow on-screen instructions to complete the test.
If no errors are reported during the test, attempt a Repair Installation of Windows by booting from media you created earlier or by using the disc that came with your computer.